Vinyl Wrap
Why Vinyl?
Something had to be done about the aircraft’s skin. It should be protected somehow.
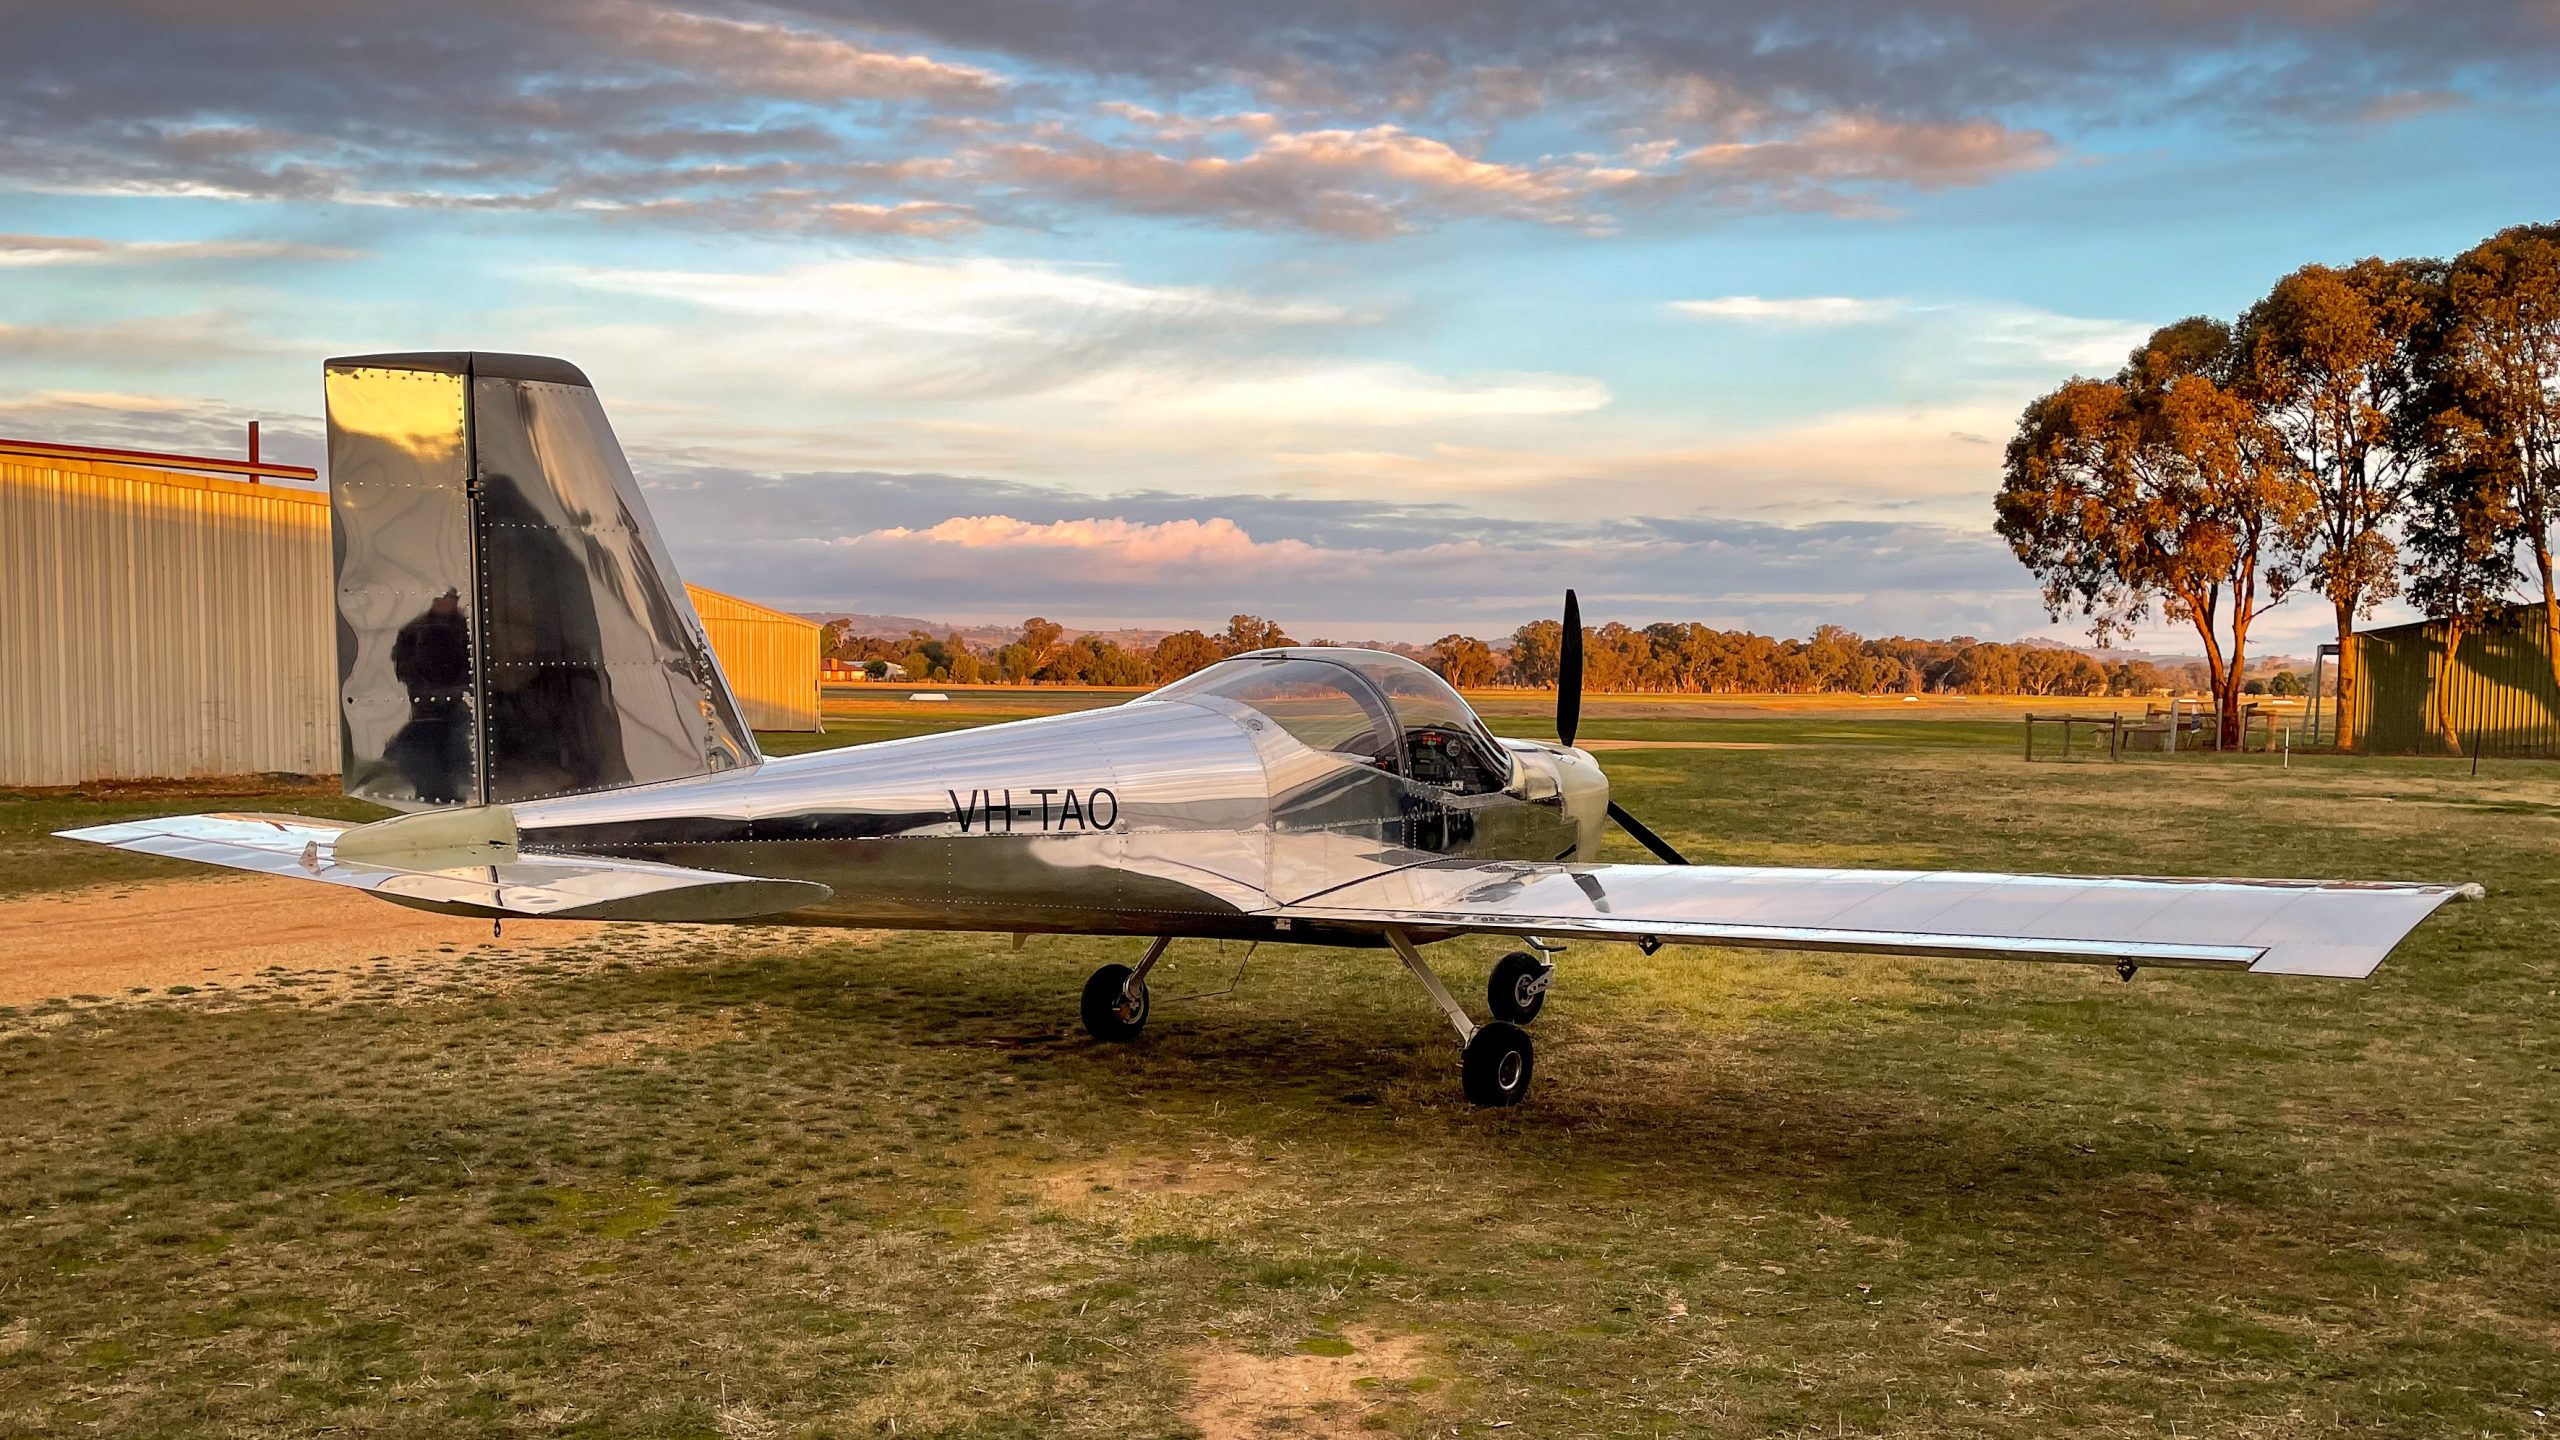 Polished aircraft looks cool but keeping the skin in good condition is a lot of work. We tried once. Don’t want to do it anymore
That leaves us with traditional painting and less traditional vinyl warp.
We’ve done quite a bit of research on the subject.
Time and effort is about the same for both.
Professional painting cost varied quite a bit but it looks like realistic figure is around $20-30K.
Professional vinyl wrap is hard to estimate due to lack of vendors offering this service for the airplanes but it is most likely around 15% cheaper than paint.
In any case we have other plans for this sort of money so we decided to take a DIY path.
My experience with painting the interior of the aircraft showed that I should stay away from paint.
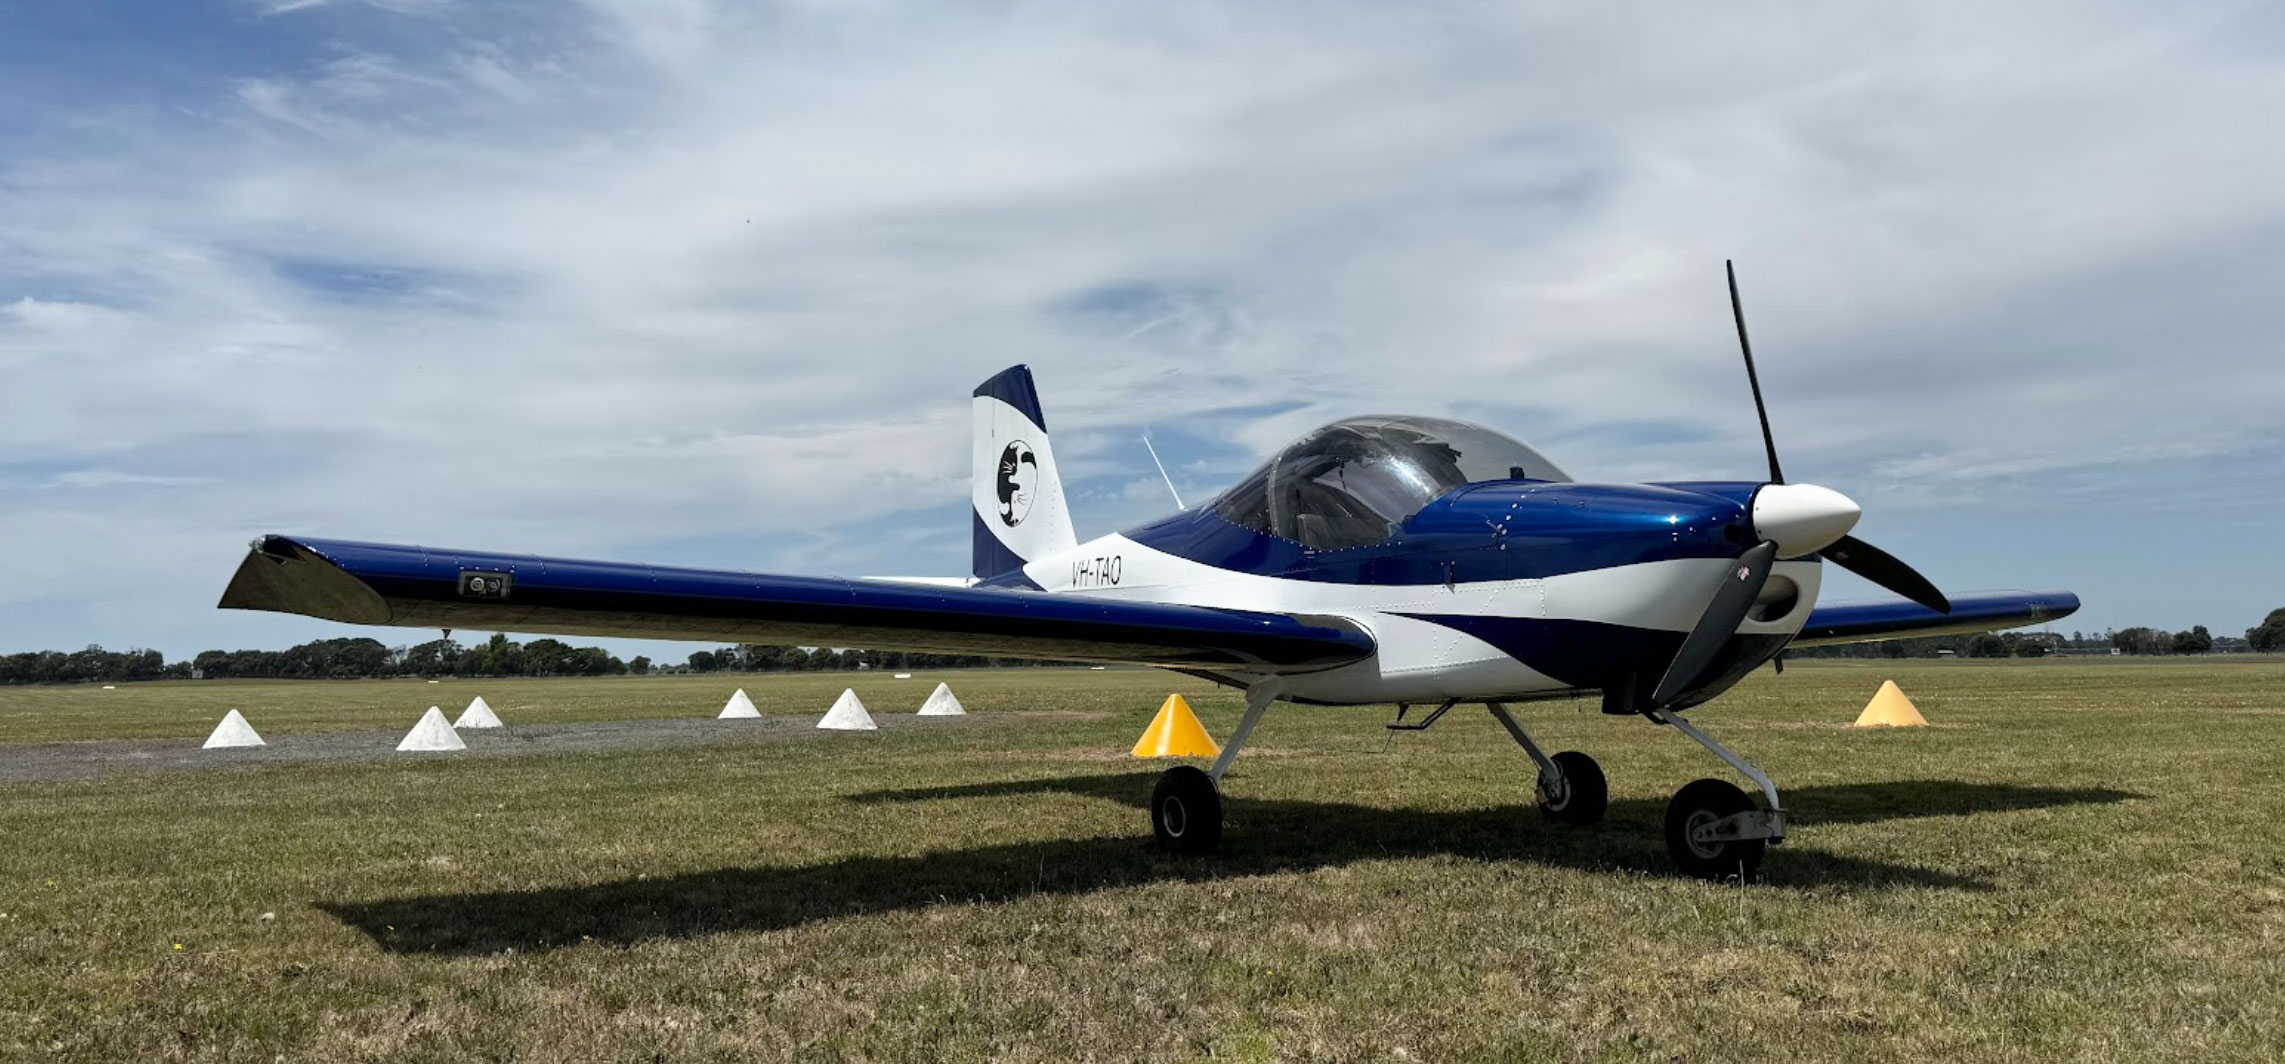
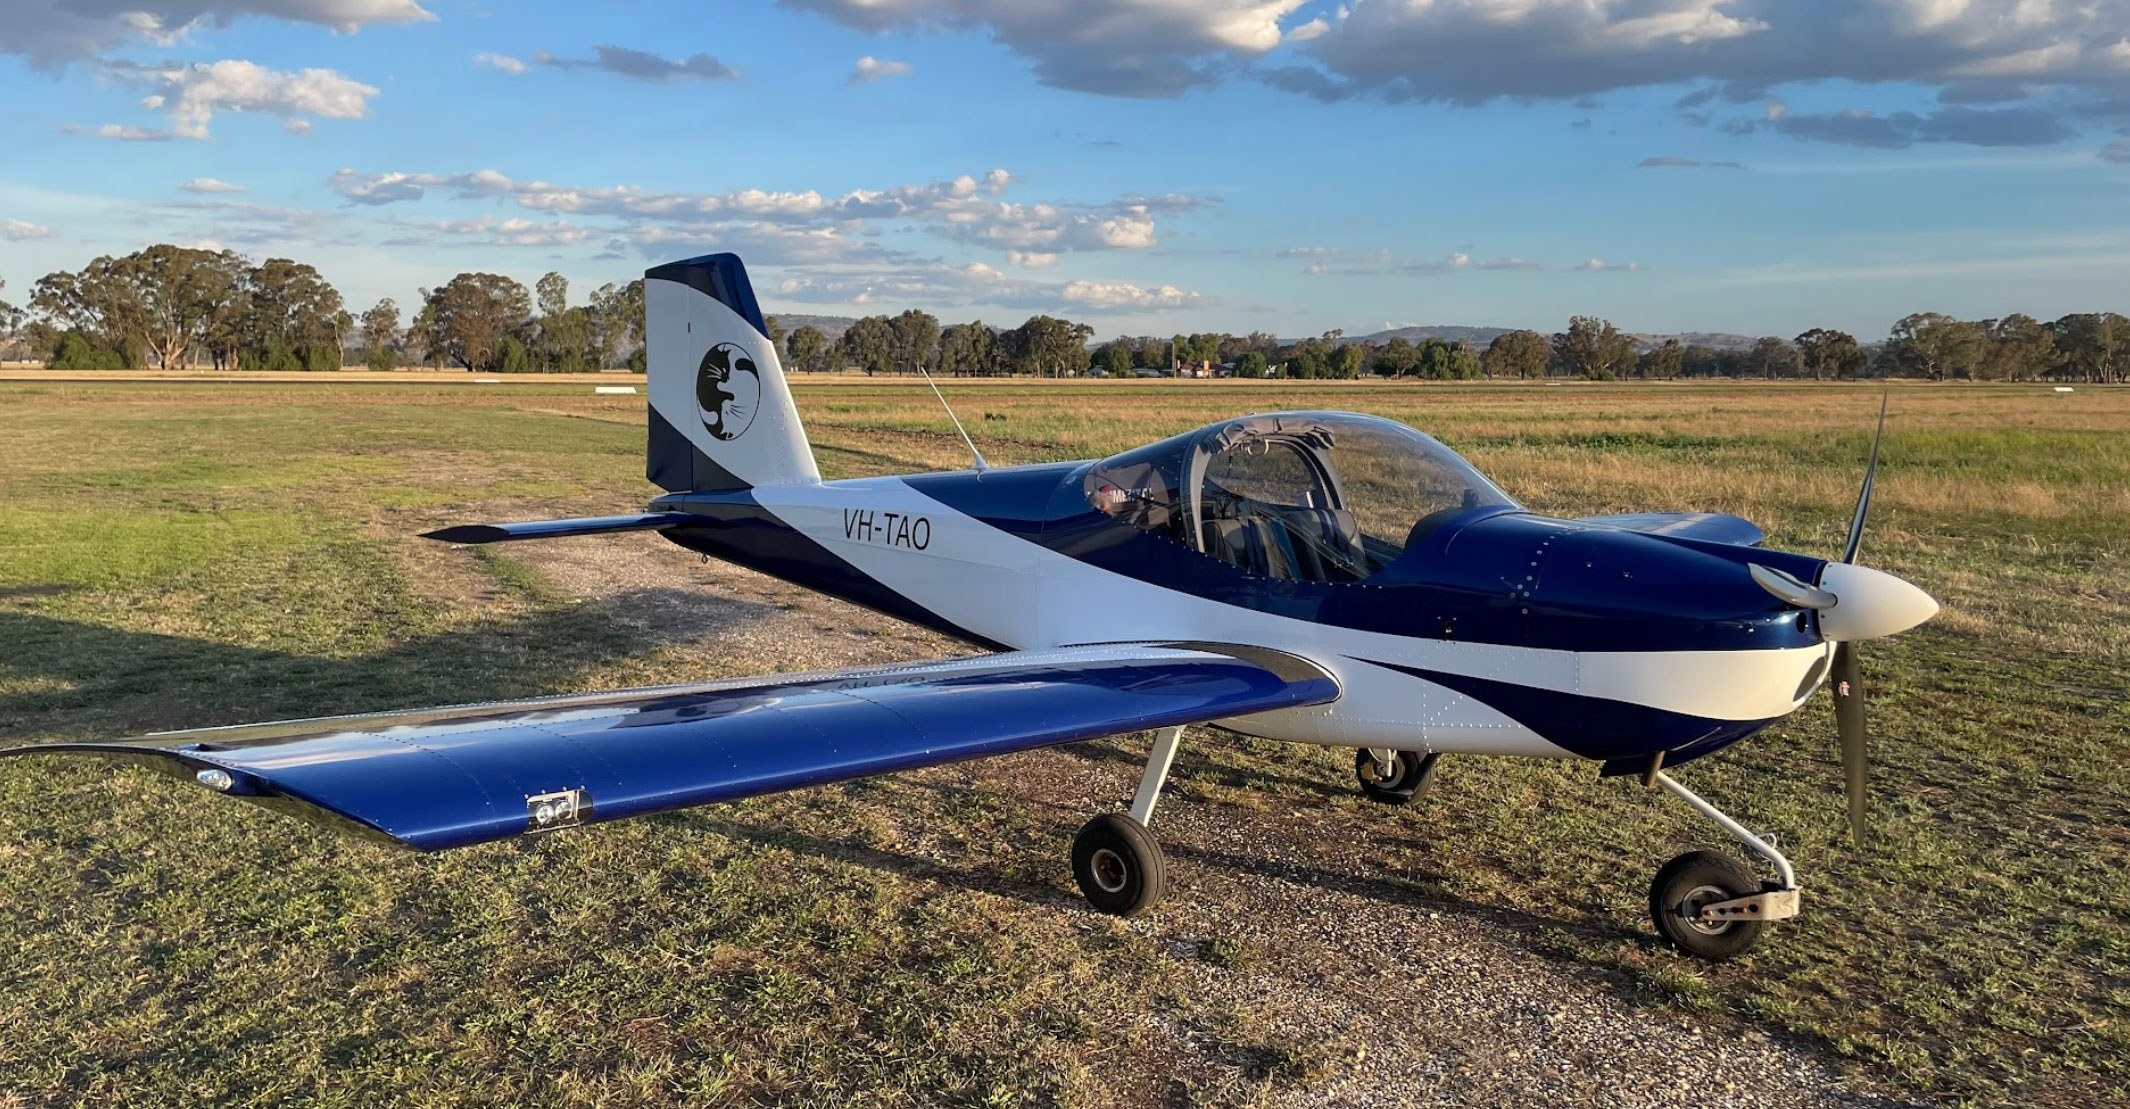 So we decided to wrap the plane in vinyl, just like thousands of cars and some of the commercial planes but do it ourselves.
And here is why:
- Vinyl can be done in stages.
For example, we have done fiberglass top engine cowl first, then a few weeks later we wraped the bottom cowl, then tail fiberglass components, etc. - Vinyl is lighter than paint <figures are coming soon>
- We can do it ourselves, saving somewhere around $20K
Which vinyl?
There are a lot of brands of vinyl available on the market.
Most popular and commonly used are
- 3M,
- Avery,
- VViVid – https://www.vvividhq.com/
We picked 3M as most of the professional vinyl installers prefer it, however Avery and VViViD have a reputation of being easier to install.
There are a lot of fake vinyl on the market (eBay, Aliexpress, etc). Get your vinyl form a reputable local supplier.
Australian distributors:
- https://premierfilmdistribution.com.au/
- https://www.spicers.com.au/
- https://www.gamart.com.au/Melbourne
Cost
2 rolls of 3M vinyl purchased in August 2021 – $2600 AUD
Price for vinyl went up substantially since then.
5 rolls of 3M knifeless cutting tape – $300 AUD
Tools and misc. stuff from eBay ~$100 AUD
Effort
I must admit we terribly underestimated the effort required to complete the wrap. One of the most time consuming parts was tucking the vinyl around the heads of the pop-rivets.
Realistically it takes about of 14-16 full days for two people who never did anything like this before. We might have saved 2-3 days if we had more experience laying down the vinyl.
Here is some breakdown of the effort required to wrap RV-12:
- Top cowl – 0.5 day
- Bottom cowl – 1 day
- Stabilator – 2 days
- Flaperons (both) – 2 days
- Wings (both) – 6 days
- Fin and rudder – x days
- Fuselage – x days
Tools
- Heat gun,
- hairdryer,
- knifes,
- squeegees,
- spray bottle for alcohol
- spray bottle for the washing solution of water and dishwashing liquid.
Material
Vinyl:
- One roll (1.5m x 25m) of 2080-G217 DEEP BLUE METALLIC
- One roll (1.5m x 25m) of 2080-G10 GLOSS WHITE
Knifeless cutting tape – 5 rolls
Isopropyl alcohol – 5l bottle
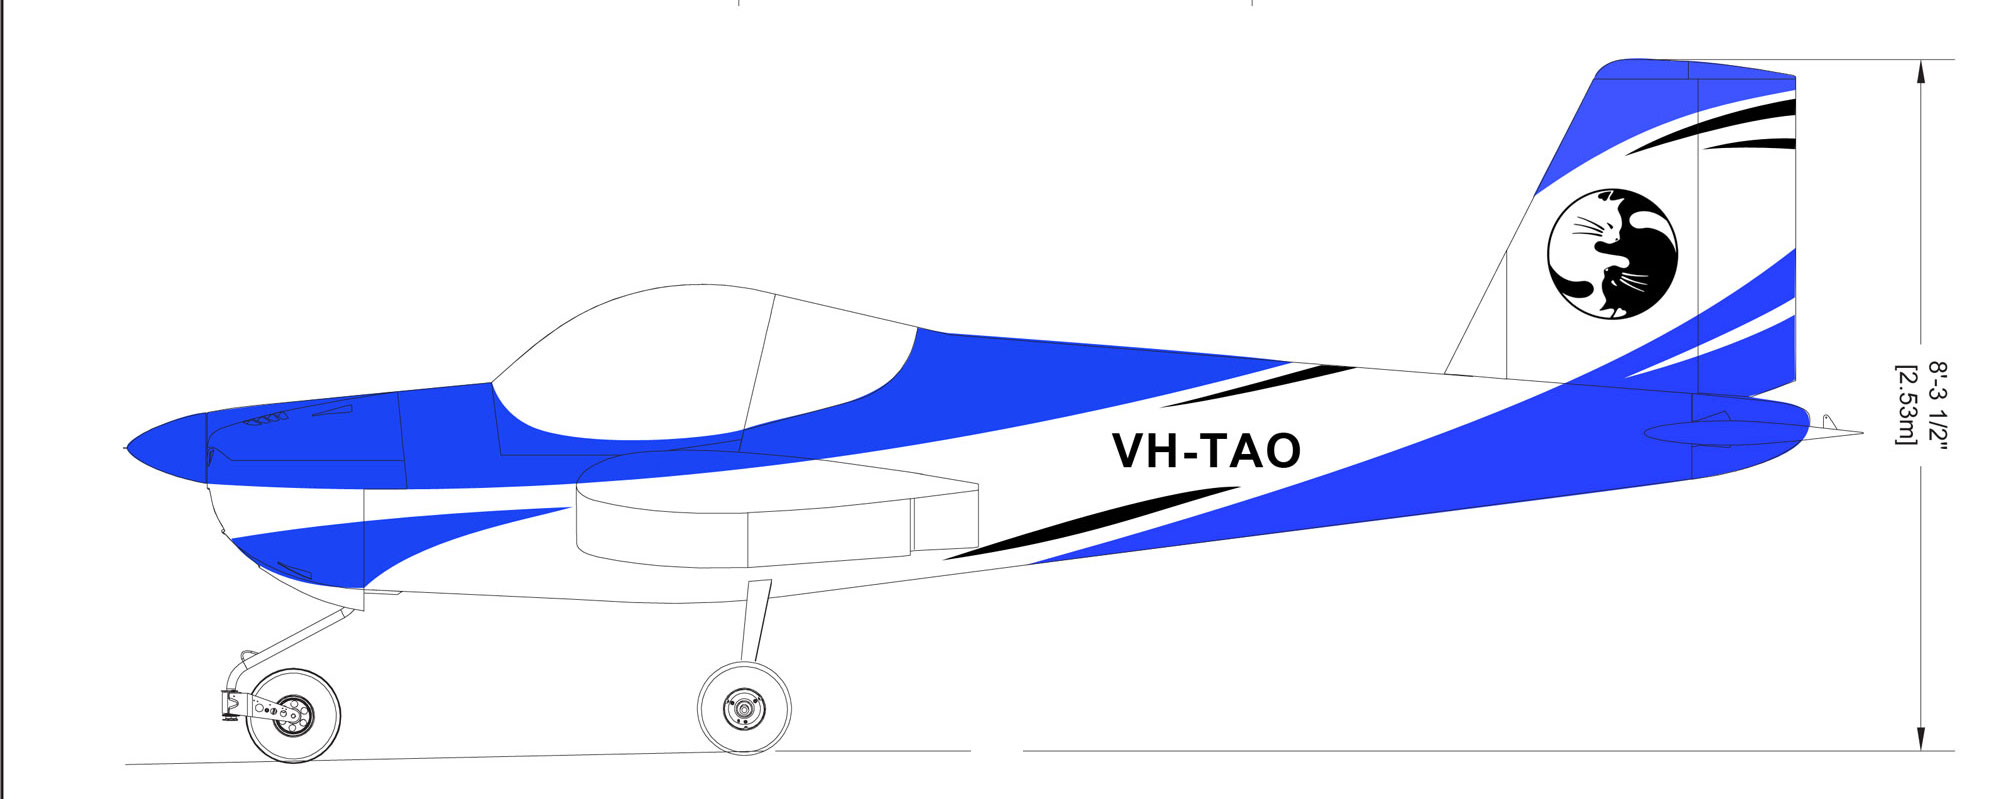
Design
There are two parts to the graphic design – Decals and Wrap Design
Decals
Decal stickers ordered in a couple of different places
Registration sign (VH-TAO) vinyl decal, size 658x140mm has been ordered at ozstickerprinting.com. 5 stickers for $79 (March 2021)
Tail Logo Decal (Cats)
Size 500mm X 500mm
To be ordered
$45 https://www.bannerbuzz.com.au/vehicle-lettering/
$50+ https://www.vinylletteringdirect.com.au/
Wrap design

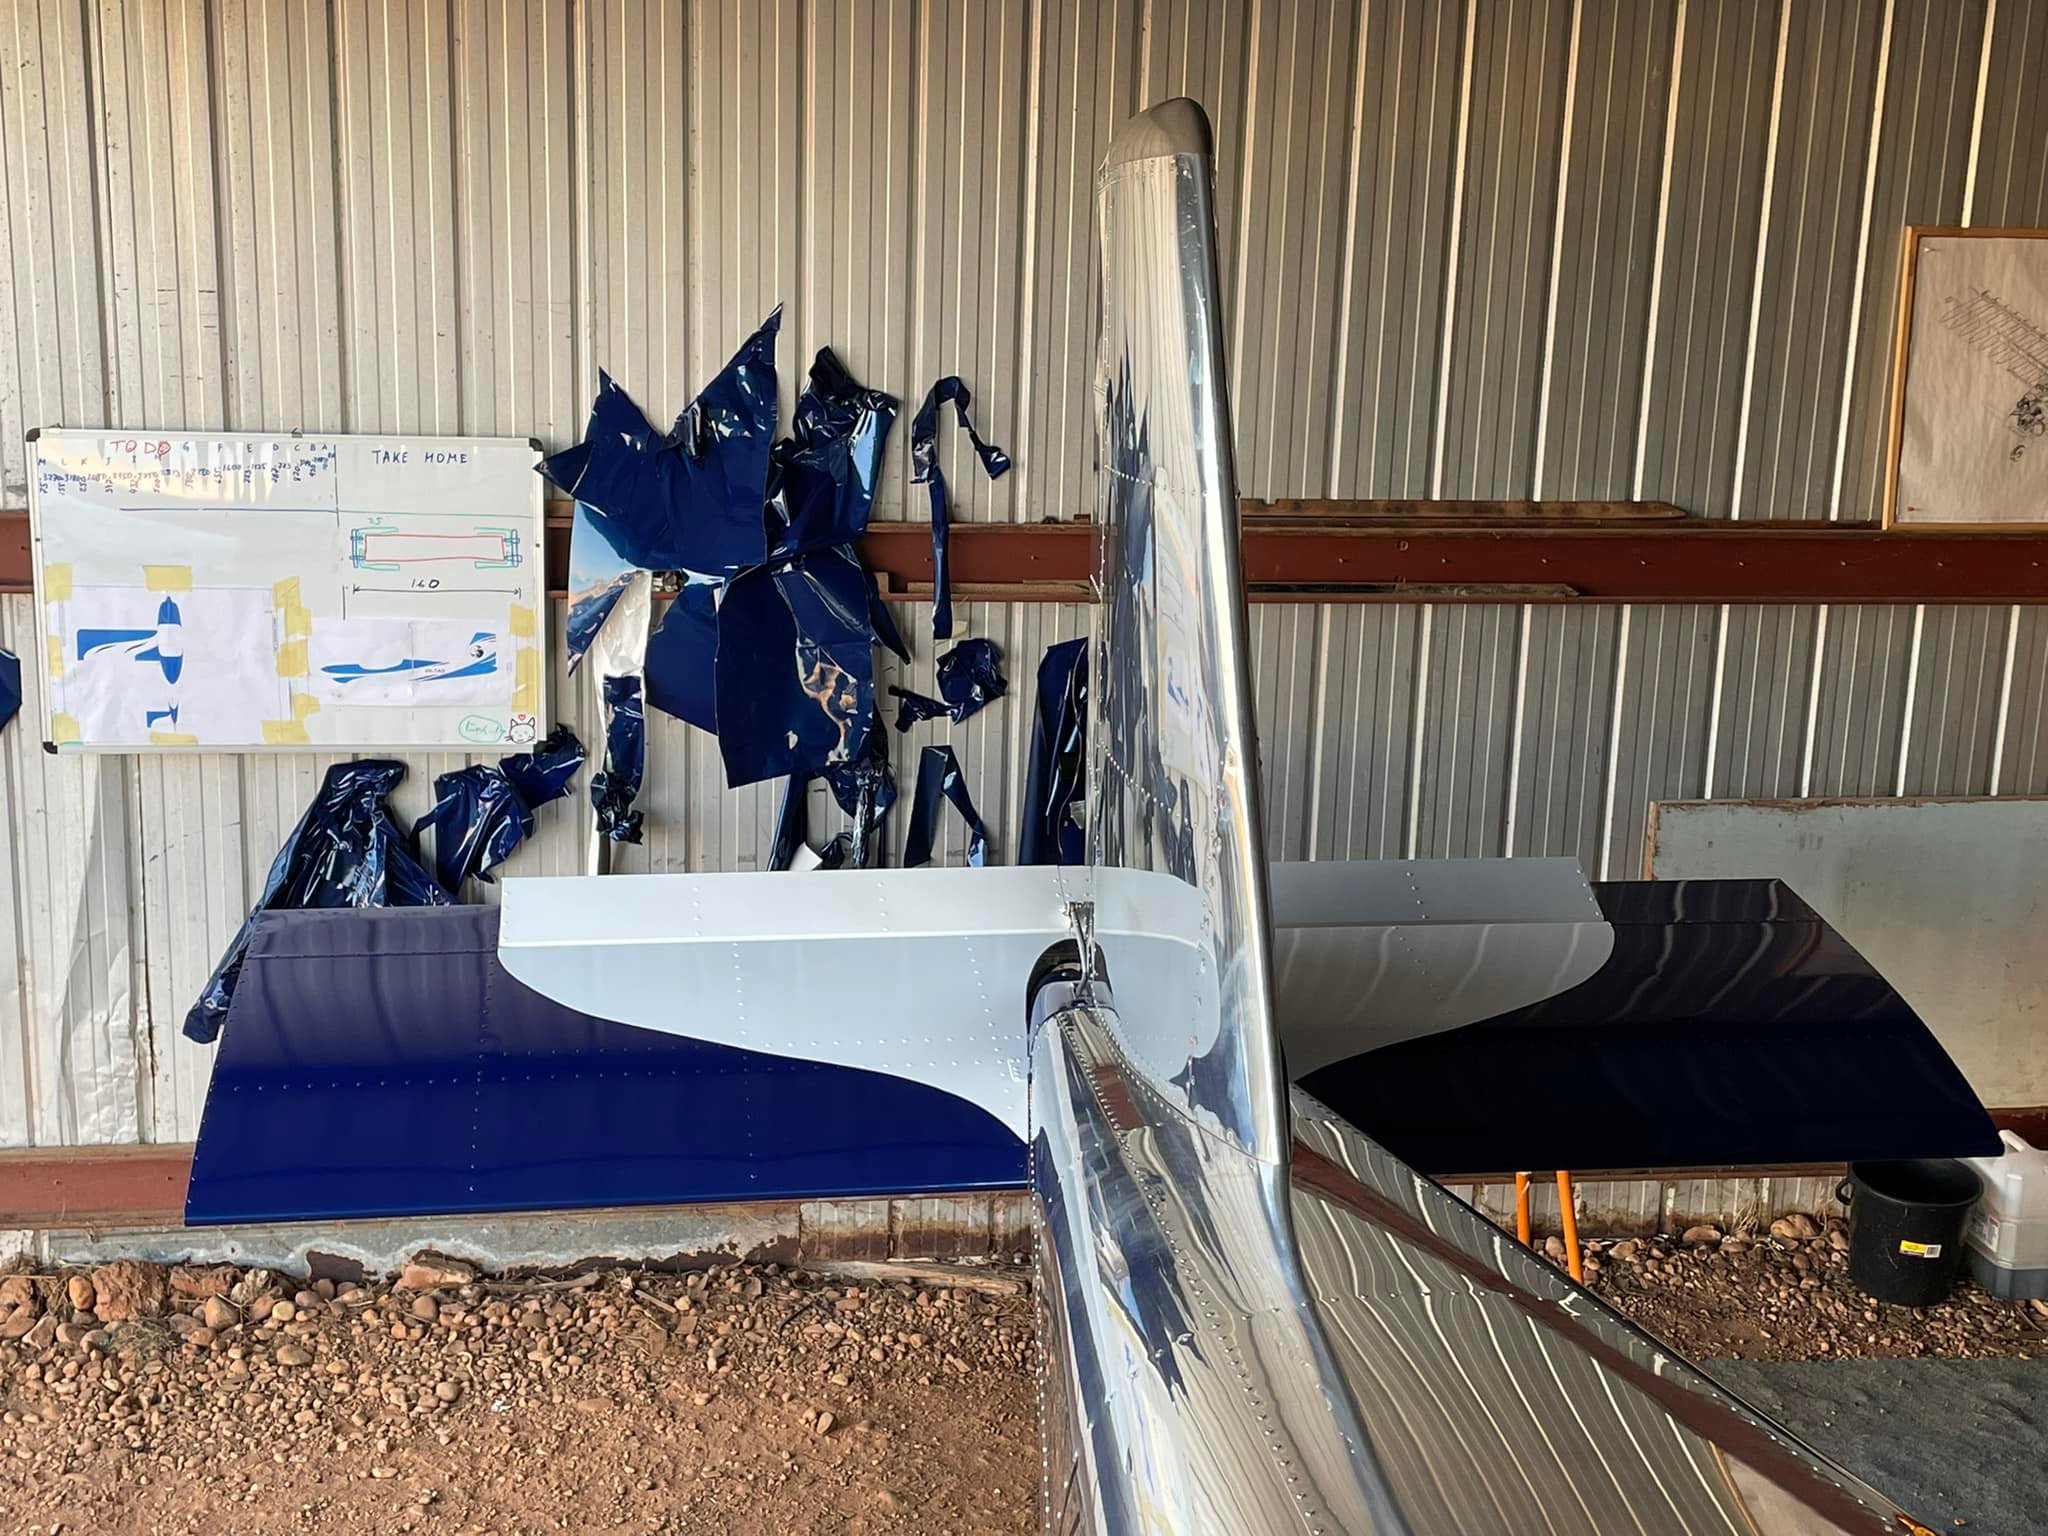
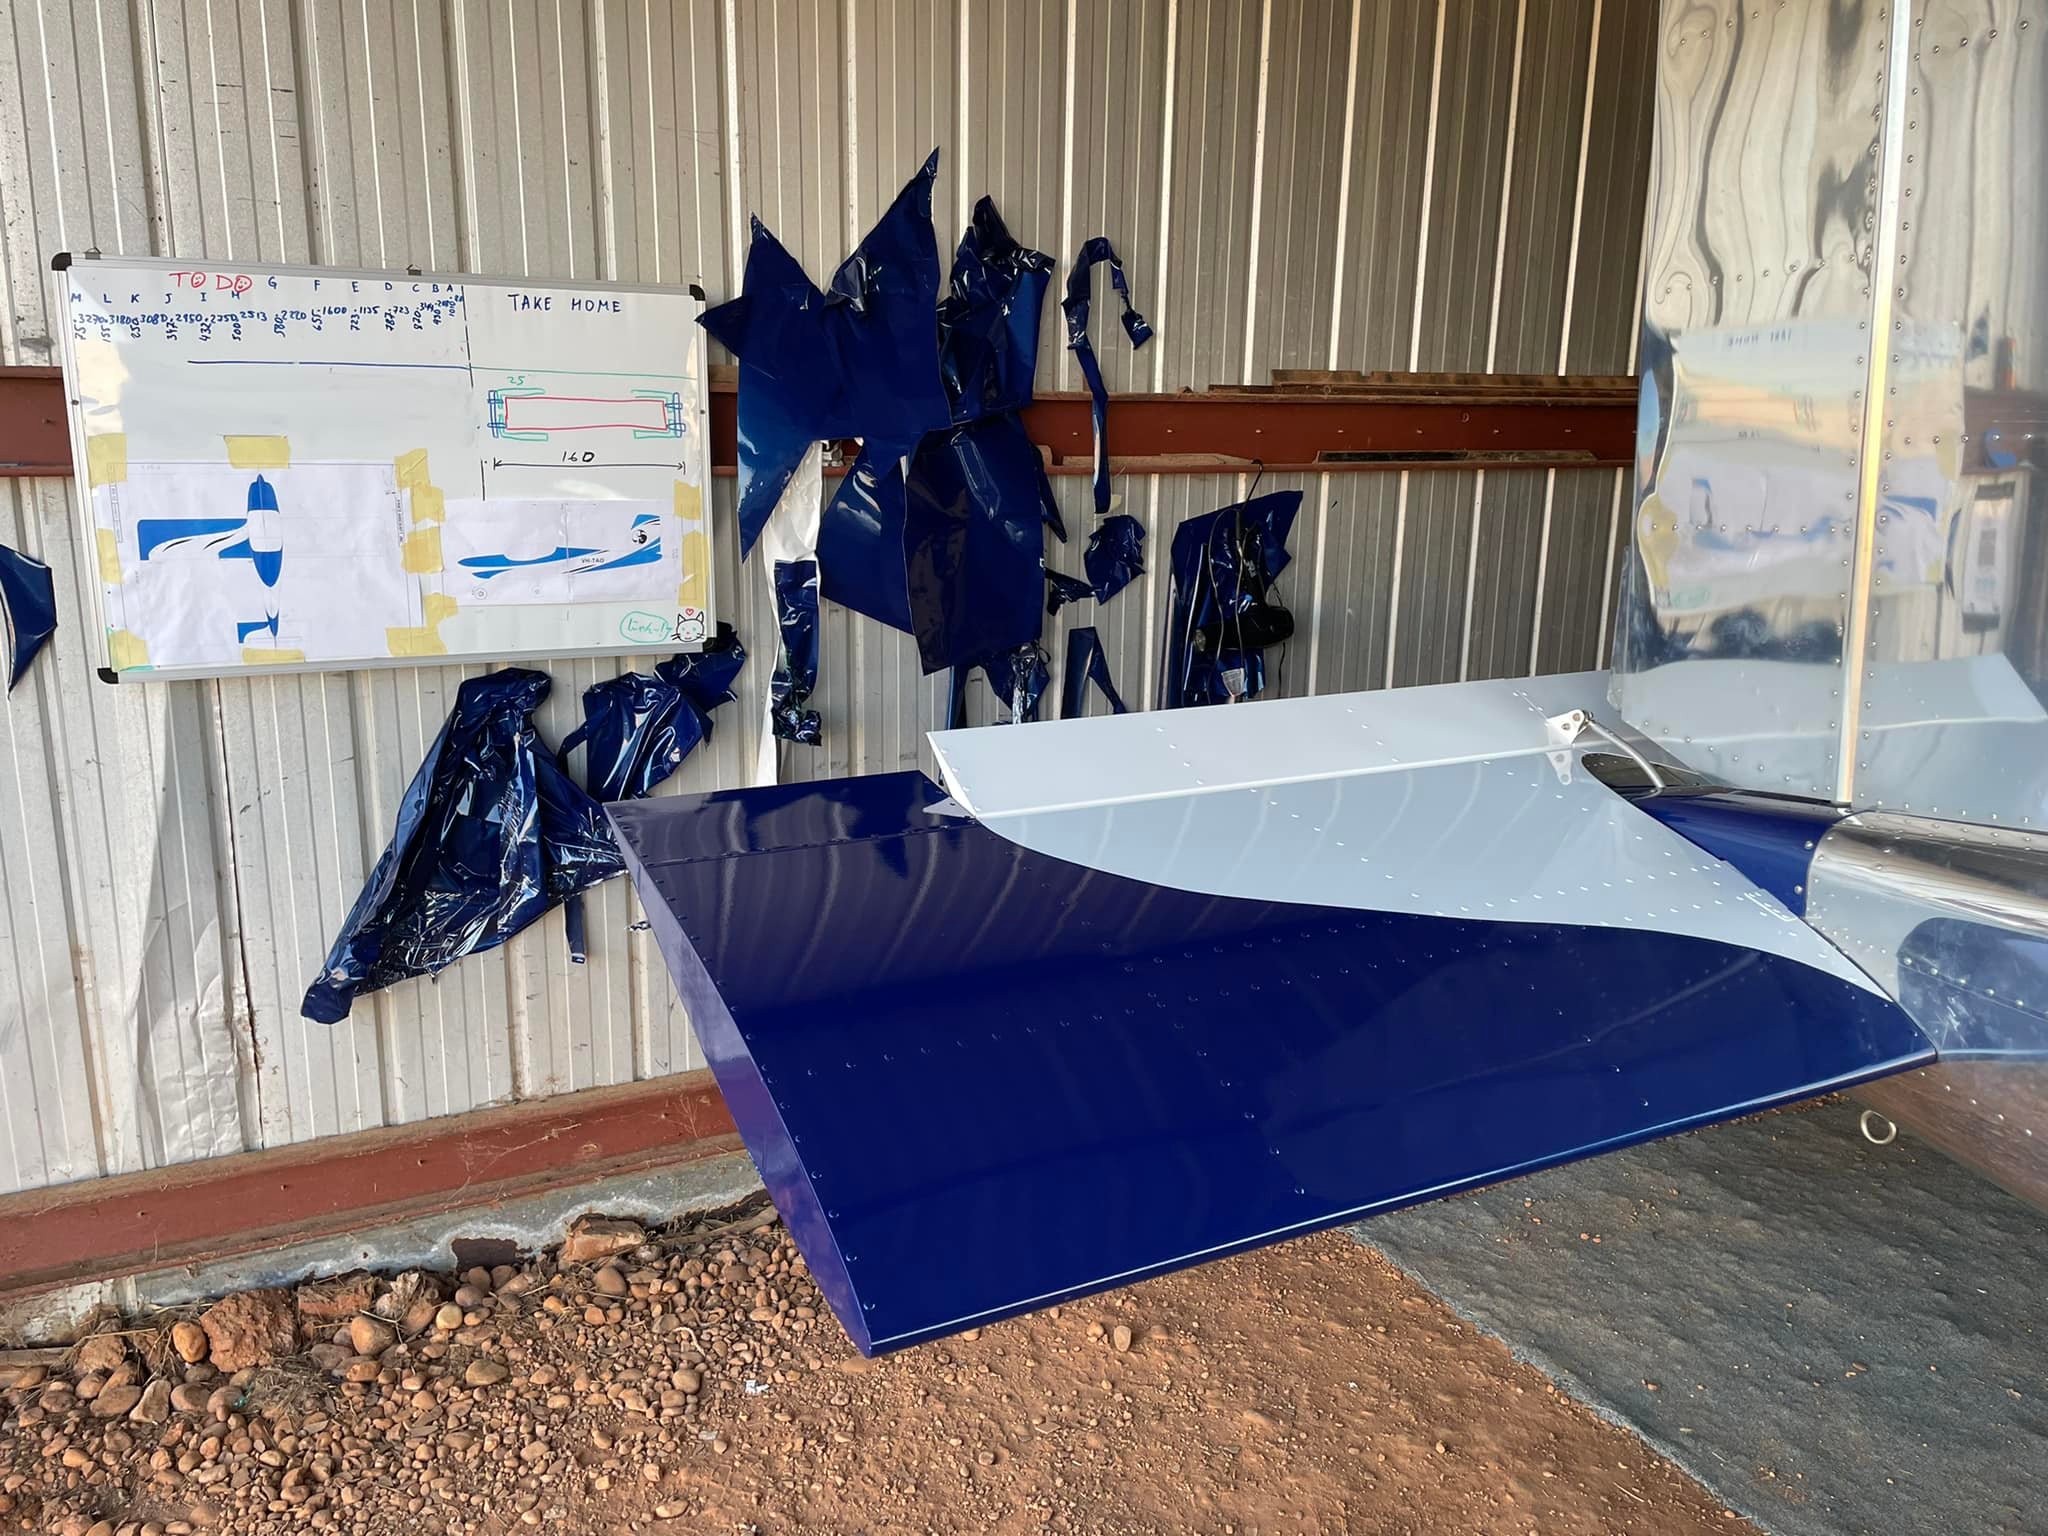
Installation
Installation requires the wrapped part to be rigidly fixed (not movable) as wrapping requires a lot of pulling and stretching.
For fiberglass parts I’ve built timber frames so they would not flex when we pull the vinyl during installation.
Stabilator was wrapped in-place (no removed for vinyl installation).

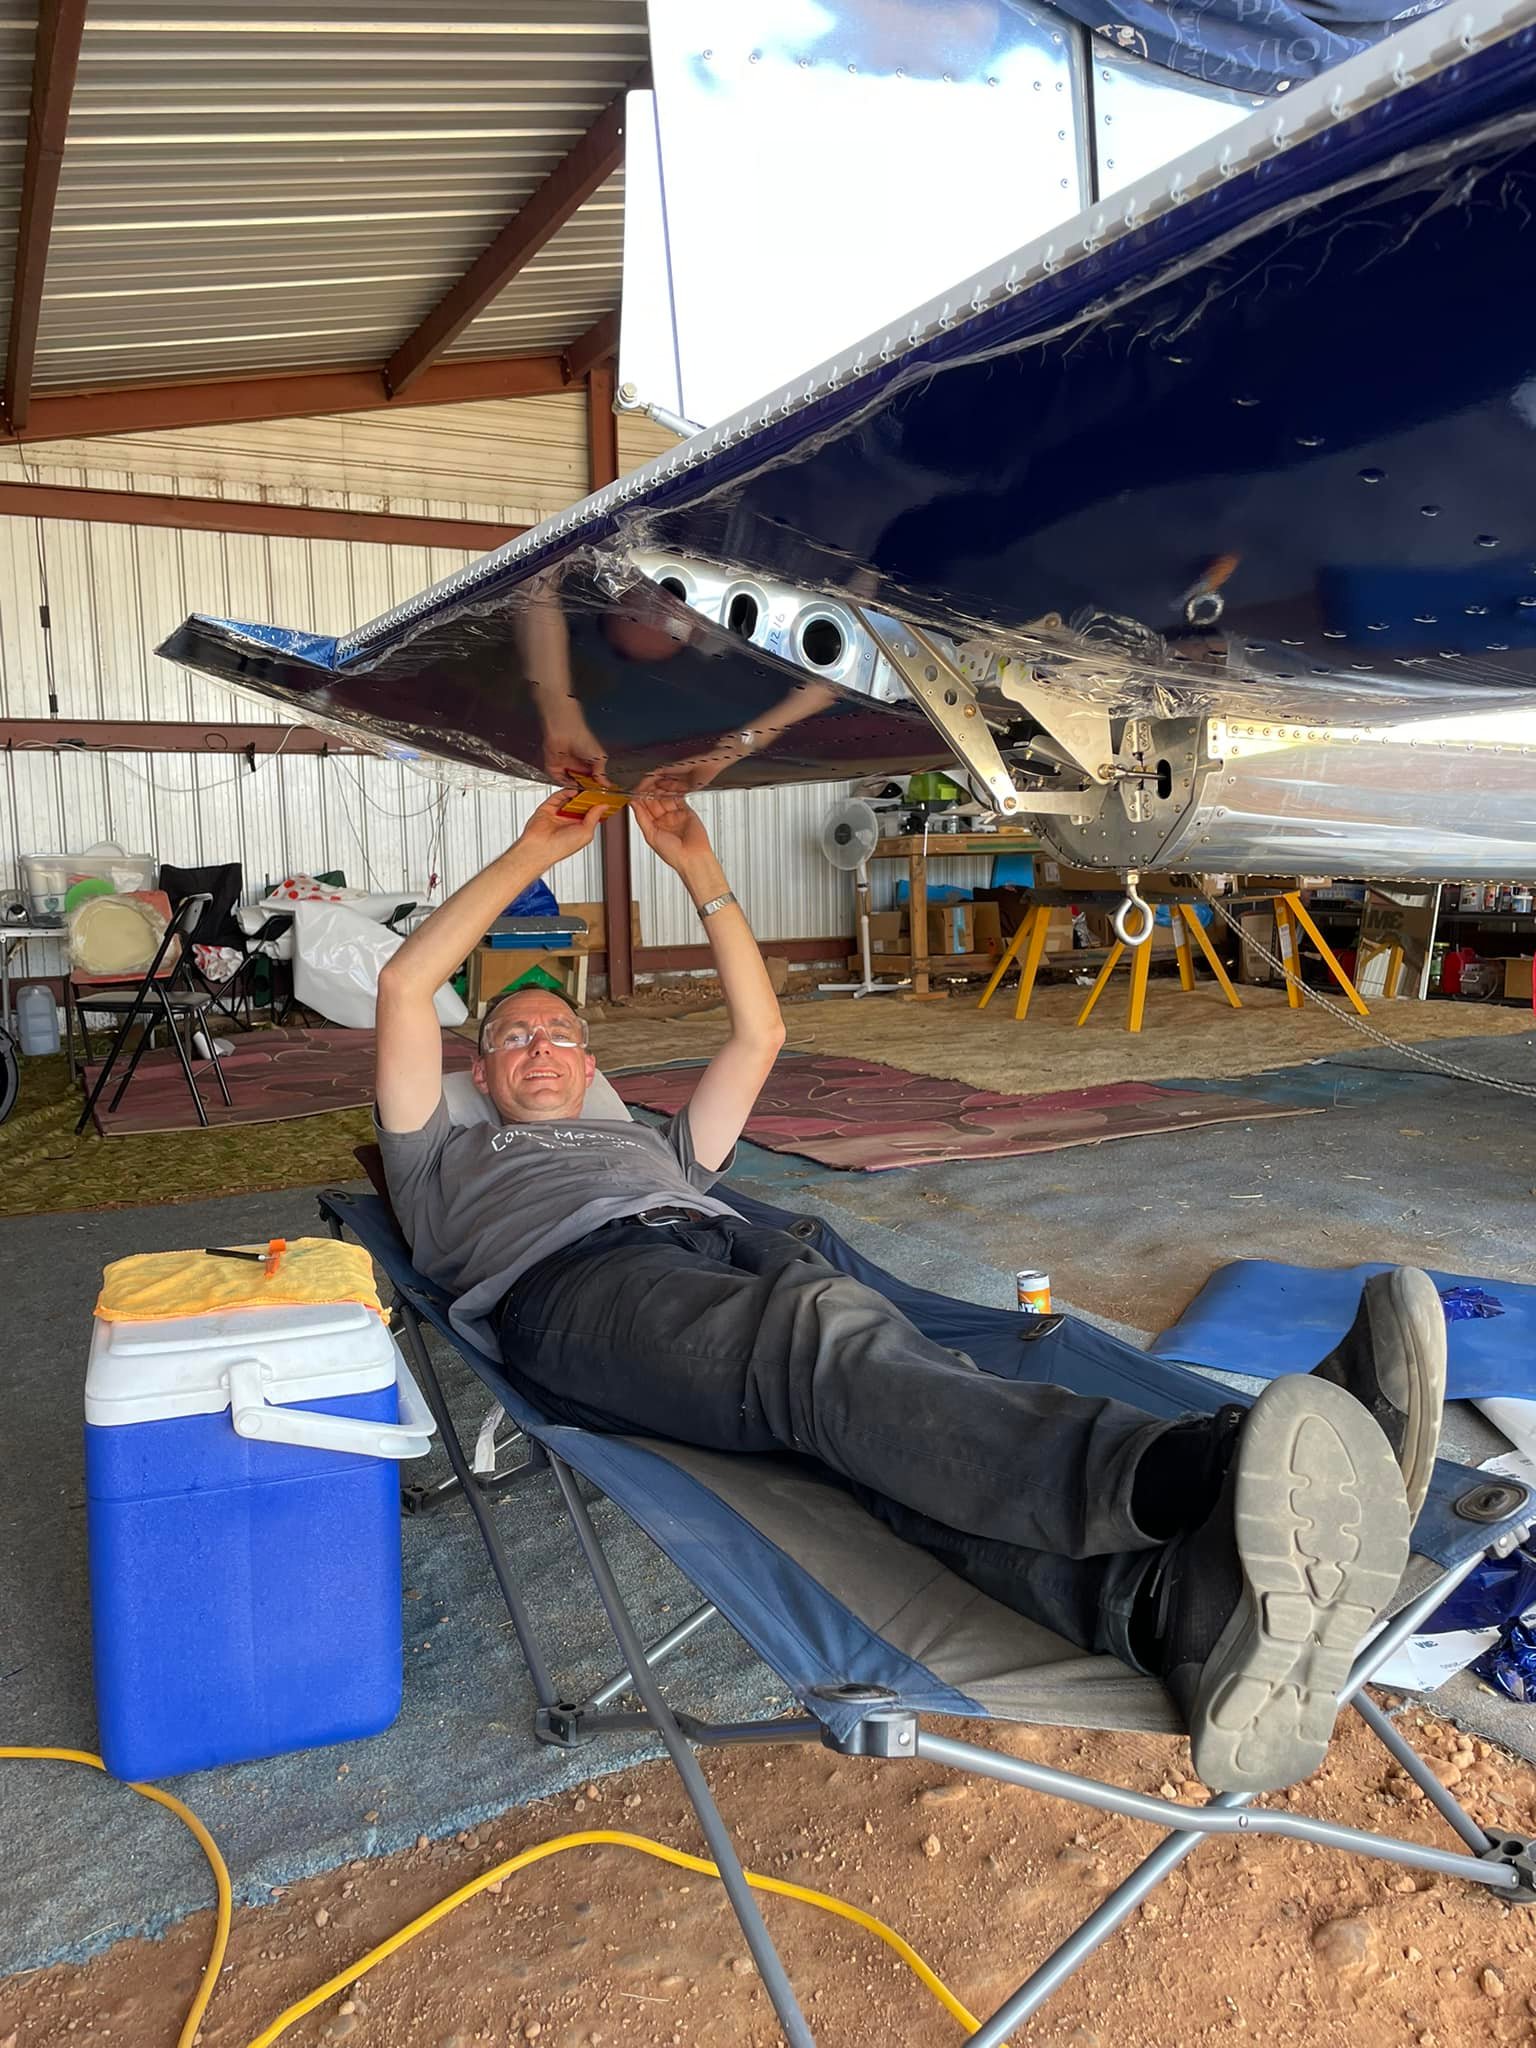
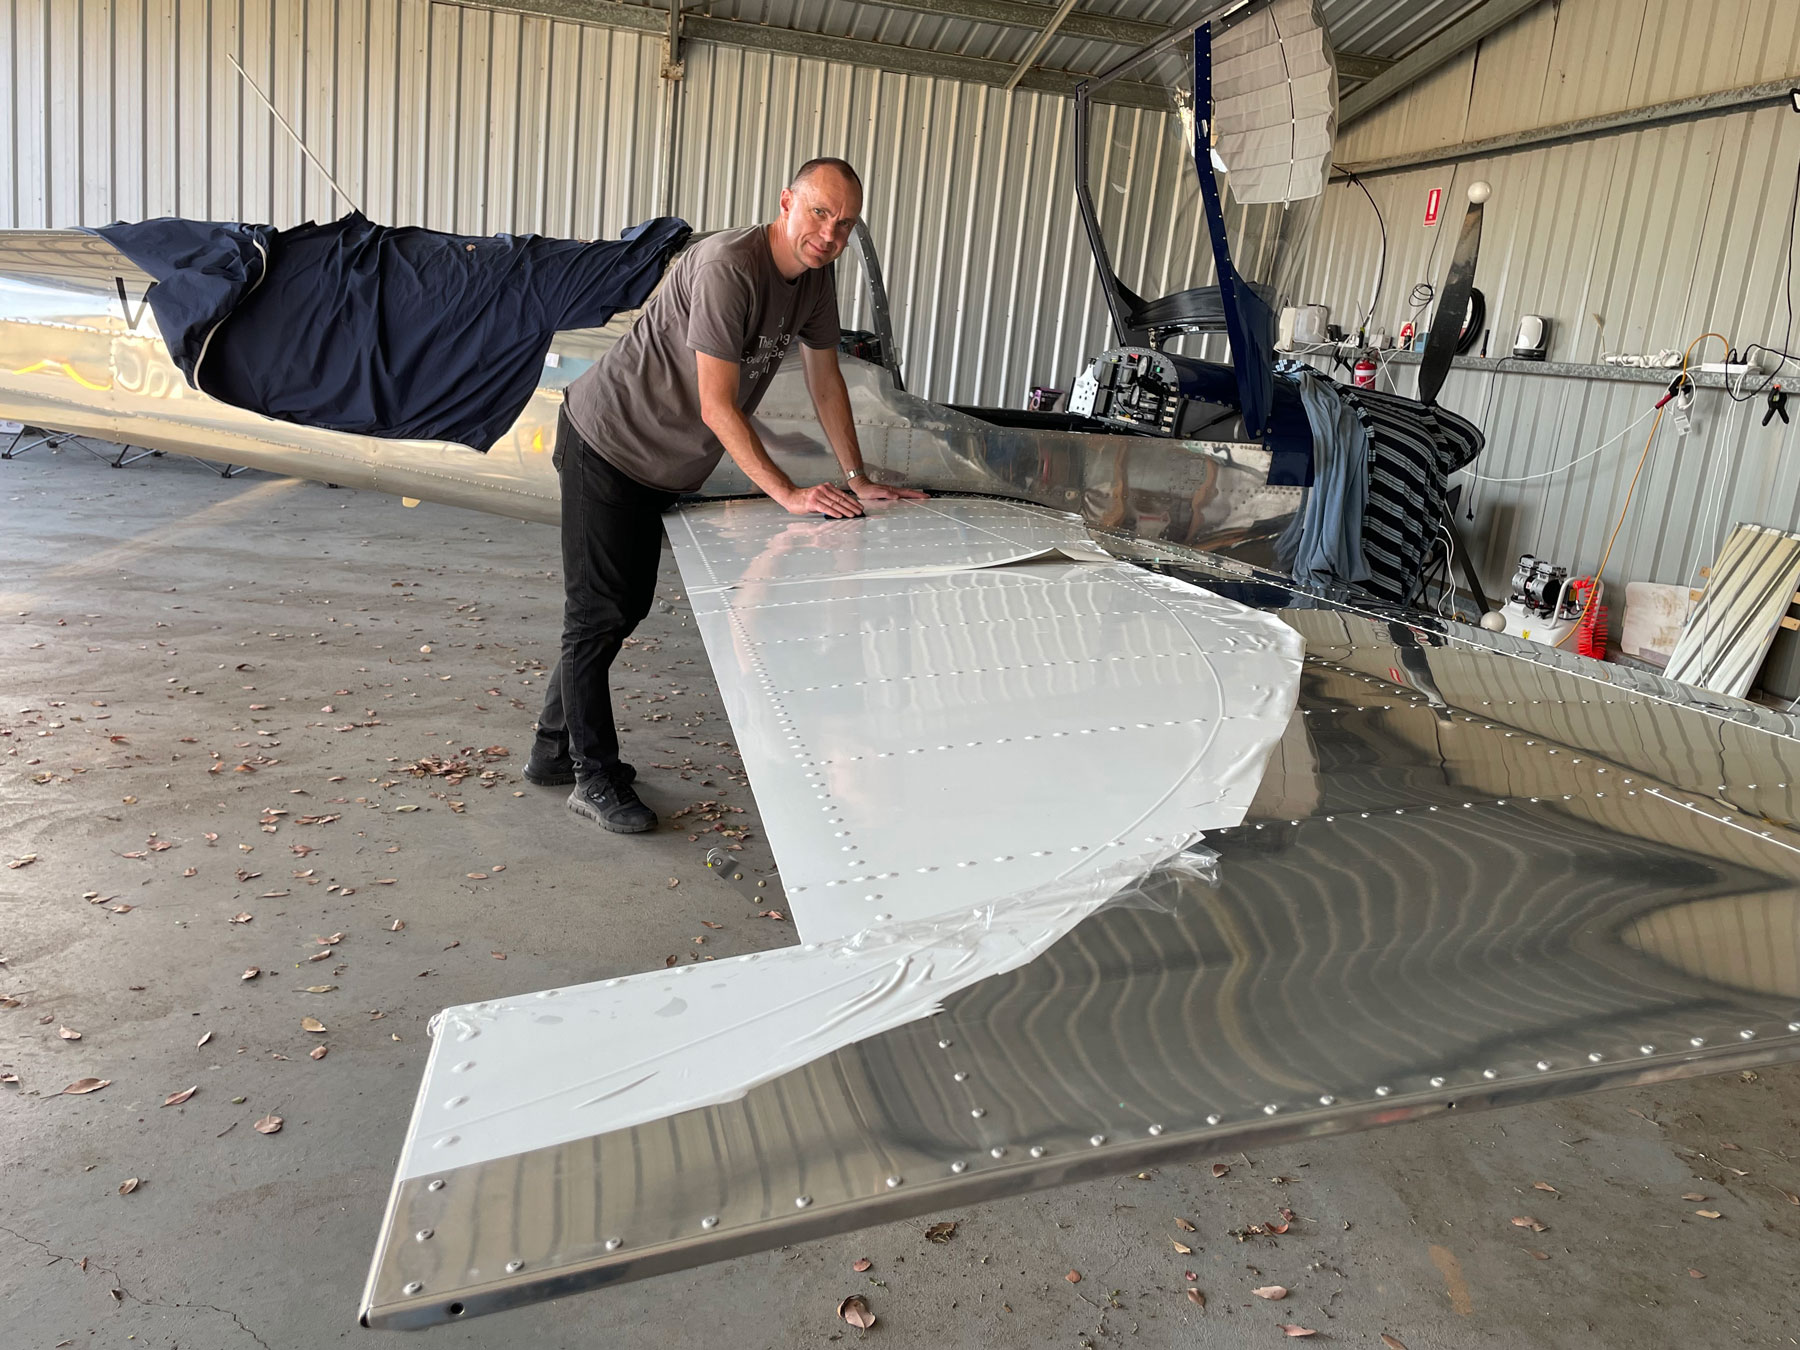
Flaperons were removed from the wings for vinyl installation.
Wings were removed and placed on padded sawhorses for installation of white vinyl. For blue vinyl the wings had to be suspended leading edge up to enable wrapping vinyl around leading edge.


Outcome